Welcome to our guide on making your first handmade soap. It’s fun and rewarding. You can make natural, moisturizing skincare products easily. We aim to help beginners make their first soap, focusing on natural and organic skincare.
It only takes 45 minutes to prepare and 1 day and 30 minutes to make. You’ll use coconut oil, olive oil, and palm oil. We’ll teach you the basics, safety, and how to make your first soap. You’ll learn about the benefits of handmade soap.
We’ll discuss different soap-making types and how to customize your recipes. Using high-quality, natural ingredients is key to good organic skincare. Follow our guide to make your own natural soap and enjoy the benefits of handmade soap-making.
Key Takeaways
- Making handmade soap is a fun and rewarding process that allows you to easily create natural, moisturizing skincare products.
- Our guide will cover the basic science of soap making, and safety measures, and provide a step-by-step guide to making your first handmade soap.
- We will focus on natural soap and organic skincare, using ingredients like coconut oil, olive oil, and palm oil.
- The prep time for making a basic cold-process soap is just 45 minutes, and the total time is 1 day and 30 minutes.
- Using high-quality, natural ingredients is important for creating effective and safe organic skincare products.
- Customizing your soap recipes and using different types of soap making can help you create unique and personalized natural soap products.
- First, Handmade Soap making can be a great way to easily create natural, moisturizing skincare products, and our guide will show you how.
Understanding the Basic Science of Soap Making
Creating artisan soap and small-batch soap requires basic science knowledge. The saponification process mixes lye and oil to make soap and glycerin. This is key for making handmade beauty products that are good for your skin.
The Saponification Process Explained
The saponification process mixes lye with water to create a solution. Then, it’s mixed with oils to make soap and glycerin. Knowing this is important for making top-notch artisan soap and small-batch soap.
Different Methods of Soap Making
There are many ways to make soap, including:
- Cold process: This method mixes lye solution with oils at a low temperature.
- Hot process: This method heats the lye solution and oils to make soap ready to use.
- Melt and pour: This method melts pre-made soap bases and adds colors, fragrances, and more.
Each method has its own pros and cons. The choice depends on what you want to make and your skill level.
Knowing the saponification process and different soap making methods helps. You can make handmade beauty products that fit your skin type and needs. Whether making artisan soap or small batch soap, understanding the science is key.
Essential Safety Measures for Your First Handmade Soap
When making handmade soap, safety is key. You’ll work with lye, a strong chemical. We want you to know how to stay safe while making cruelty-free soap and eco-friendly soap.
To keep you safe, follow these steps:
- Wear protective gear, including gloves, eye protection, and a respirator mask
- Work in a well-ventilated area to avoid inhaling lye fumes
- Keep the workspace away from children and pets
- Use suitable materials for mixing lye solutions, such as polypropylene, polyvinyl chloride, stainless steel, or glass
By taking these precautions, you’ll have a fun and safe time making soap. Remember, making soap is not just about making cruelty-free soap or eco-friendly soap. It’s also about taking care of yourself and your space. Always put safety first for yourself and others.

Required Tools and Materials for Soap Making
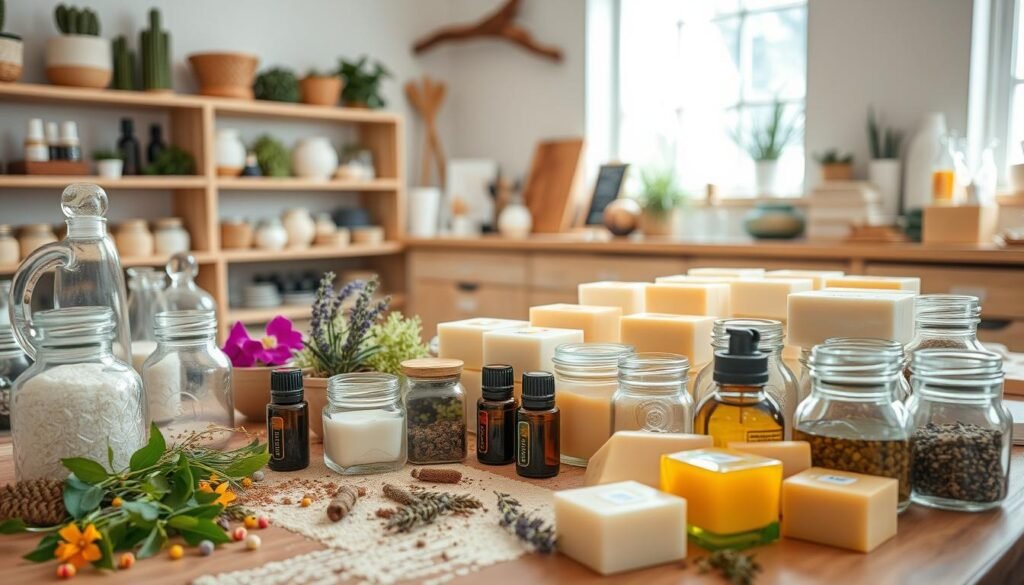
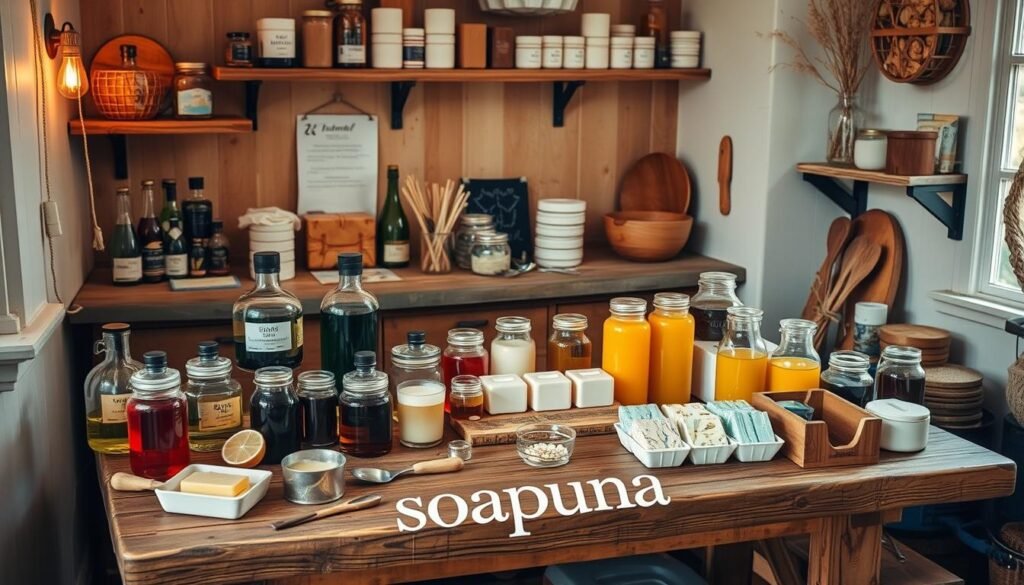
To make handmade soap, you need various tools and materials. We aim to give you a full list of what you need, including basic tools, oils and butters, lye and chemicals, and optional additives and fragrances. The right tools and materials are key to making luxury soap.
For natural soap making, you’ll need a digital scale, thermometer, stick blender, and safety gear. The oils and butter you choose depend on what you want to make and your skill level. Organic skincare fans will value using top-notch, natural ingredients.
Here are some tools and materials you’ll need for soap-making:
- Digital scale
- Thermometer
- Stick blender
- Safety gear, including chemical safety goggles and gloves
- Oils and butter, such as coconut oil and shea butter
- Lye and other chemicals
- Optional additives and fragrances, such as essential oils and herbs
Using the right tools and materials helps you make top-notch, luxury soap. It’s great for organic skincare routines. Always follow safety rules and wear protective gear when working with lye and chemicals.
| Tool | Description |
|---|---|
| Digital scale | Used to measure ingredients accurately |
| Thermometer | Used to monitor temperatures during the soap-making process |
| Stick blender | Used to mix and blend ingredients |
Preparing Your Workspace for Soap Making
Creating handmade beauty products like small batch soap needs a special workspace. This space is key for safety and keeping things organized. We’ll share tips to help you set up a workspace that’s just right for making soap.
A place with good air and light is vital, especially when using lye. You might want a space with a door or window, or a fan to clear out bad smells. Many people turn an extra room, shed, or storage area into their soap making spot.
Here are some important things to think about for your workspace:
- Keep soap making stuff away from kitchen tools to avoid mistakes
- Use industrial shelves or racks for storing soap and supplies
- Have a stainless steel workbench and a sink for easy cleaning
- Find ways to save space, like over-sink racks and floating shelves
By following these tips, you’ll be ready to make great handmade beauty products, like small batch soap. Always keep safety and order in mind to have a fun and successful soap making time.

Step-by-Step Guide to Your First Handmade Soap
Making your first handmade soap is fun and rewarding. You can make a beautiful artisan soap for your organic skincare routine. Just use the right ingredients and be patient.
To start, measure your ingredients carefully. This includes lye, oils, and any additives. Use a digital scale for accurate measurements. Volume measurements can be tricky.
Measuring Your Ingredients
Use a digital scale to measure your ingredients. You’ll need to measure lye, oils, and additives. The lye to water ratio is usually 1 to 3, but it depends on the recipe.
Mixing the Lye Solution
Mixing the lye solution is key. Slowly add lye to water, stirring carefully to avoid splashes. The mixture will heat up and produce fumes. Work in a well-ventilated area and wear protective gear like gloves and safety goggles.
After mixing the lye solution, combine it with oils and additives. This is when your natural soap starts to come together. With practice and patience, you can make a beautiful artisan soap for your organic skincare routine.
Natural Colorants and Additives for Beginners
Creating your own cruelty-free soap lets you add natural colors and extras. We aim to help you use these ingredients to make your soap-making fun. Using eco-friendly soap ingredients is good for the planet and your skin.
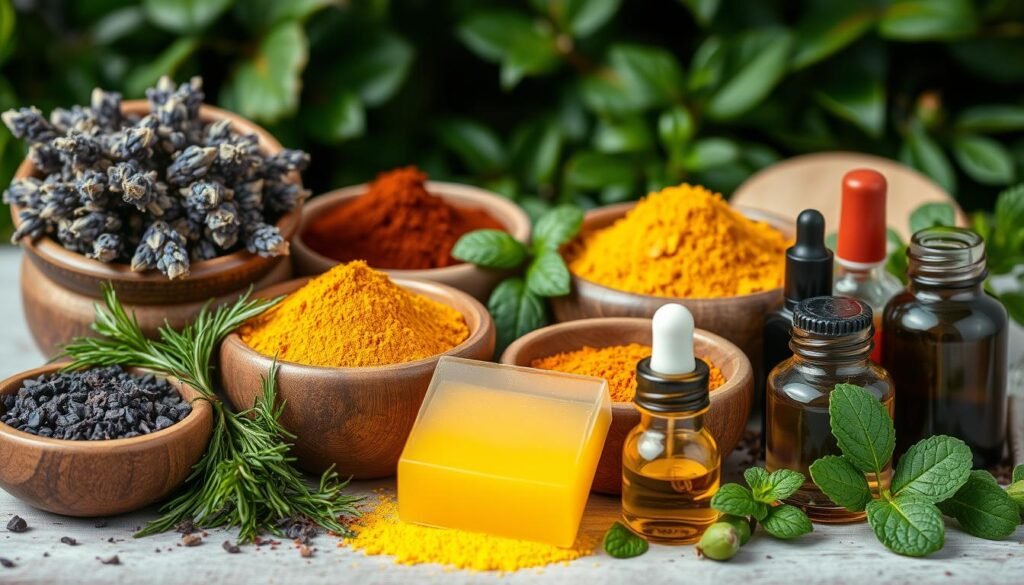
Start by trying herbs and plants like annatto seeds, turmeric, and calendula. They can create different colors and smells. For instance, annatto seeds can turn your soap yellow to orange. Natural clays like kaolin clay can also add texture and color. For a luxury soap feel, mix essential oils for special scents.
Here are some natural colorants and additives for your soap:
- Herbs and botanicals: annatto seeds, turmeric, calendula
- Natural clay options: kaolin clay, bentonite clay
- Essential oil combinations: lavender and chamomile, peppermint and eucalyptus

Always use natural colorants and additives as suggested. Test your soap recipes well to get the best results. With creativity and trying new things, you can make special cruelty-free soap that’s good for you and the planet.
Molding and Curing Your Handmade Soap
After mixing your soap, it’s time to mold and cure it. This step is key to making a hard, lasting bar. Our handmade beauty products, like small-batch and artisan soap, need careful attention for the best results.
To start, pour the soap mix into a mold. You can use a silicone or wooden mold. After placing the soap in the mold, it will cure for weeks. Handmade soap usually cures for 4-6 weeks, losing half its water.
Here are important things to remember during curing:
- Softer, milder soap comes after at least four weeks of curing.
- Weekly weight checks help know when the soap is ready.
- Recipes with 60%+ olive oil need at least six weeks to cure.
By following these tips and using quality ingredients, you can make beautiful handmade beauty products. These products will soften and refresh your skin. Curing is a crucial step whether making small batch soap or artisan soap.
Common Mistakes to Avoid in Soap Making
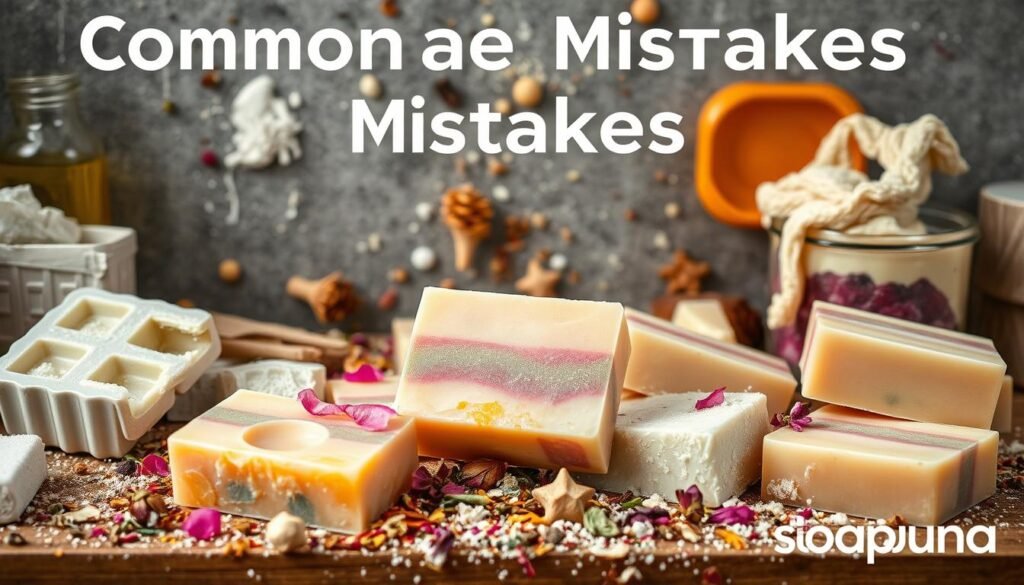
Knowing common mistakes is key when making natural soap. Beginners might face issues like temperature problems, mixing errors, or curing issues. We aim to share tips to help you avoid these and make top-notch luxury soap for organic skincare.
Some common mistakes include wrong temperatures, leading to “false trace” or too fast tracing. Not fully researching recipes and ingredients can also cause problems. It’s vital to pick the right oils, butter, and fragrances for the right texture and scent.

To avoid these mistakes, do your homework, stick to tested recipes, and choose quality ingredients. Understanding the soap-making process and watching out for common issues will help you make lovely, nourishing natural soap for organic skincare.
- Use a thermometer for accurate temperatures
- Research the recipe and ingredients well
- Choose high-quality oils, butter, and fragrances
By following these tips and knowing common mistakes, you can make luxury soap that’s not just pretty but also good for organic skincare. Always focus on quality and safety in your soap-making.
Testing Your Finished Soap for Quality
Testing your soap for quality is key. As a maker of cruelty-free soap and eco-friendly soap, you aim for the best. Check the soap’s texture, lather, and scent.
A top handmade beauty product should have a rich lather and nice scent. It should feel smooth and gentle. To test, use visual checks, touch, and smell. Also, do pH testing to keep the soap balanced.
Here are some tips for testing your soap:
- Check the soap’s texture and lather by washing your hands with it
- Smell the soap to ensure it has a pleasant scent
- Conduct pH testing to ensure the soap is not too alkaline or acidic
Follow these tips to ensure the top quality of your cruelty-free and eco-friendly soap. Always focus on the quality of your handmade beauty products, and take time to test them well before sharing.
Conclusion: Starting Your Soap-Making Journey
As you finish our guide to making handmade soap, we urge you to start your soap-making adventure. Making artisan soap at home is fun and lets you be creative. You can make natural, organic skincare products for yourself or to sell.
Soap making is a mix of science and art. Don’t be afraid to try new things and learn from your mistakes. The soap-making community is full of people who love to share and help each other.
We wish you luck as you begin your soap making journey. Have fun, keep learning, and show off your artisan side. Make natural, luxurious soaps that make your skin and soul happy.
FAQ
Q: What is the saponification process and how does it work in soap making?
A: Saponification is a chemical reaction between lye and oil that produces soap and glycerin. This process is key to making good handmade soap.
Q: What are the different methods of soap making and which one is best for beginners?
A: Soap-making methods include cold process, hot process, and melt and pour. Each has its benefits and drawbacks. Beginners often start with a cold process. It’s easy and lets you customize your soap.
Q: What safety measures should I take when making handmade soap?
A: Safety is crucial when making soap. Wear protective gear, ensure good airflow, and handle lye carefully. Lye is dangerous and needs special care.
Q: What tools and materials do I need to start making handmade soap?
A: You’ll need a digital scale, thermometer, stick blender, and oils and butter. Lye is essential and must be handled with care. You can also add extras and fragrances to make your soap unique.
Q: How do I set up a workspace for soap making?
A: A dedicated workspace is vital for soap making. It should be clean, well-ventilated, and organized. Make sure you have all the safety gear you need.
Q: What is the step-by-step process for making my first handmade soap?
A: Making your first soap involves measuring, mixing lye, combining oils and lye, and reaching the trace stage. A step-by-step guide can help you succeed.
Q: How can I use natural colorants and additives to customize my soap?
A: Use herbs, botanicals, and natural clays for colors and scents. Essential oils can also add to your soap’s uniqueness.
Q: What are the best practices for molding and curing my handmade soap?
A: Good molding and curing are key for quality soap. Choose the right molds, pour carefully, and cure for the right amount of time. This makes your soap hard and long-lasting.
Q: What are some common mistakes to avoid when making handmade soap?
A: Avoid temperature issues, mixing problems, and curing mistakes. Knowing these common errors can help you make better soap.
Q: How do I test the quality of my finished handmade soap?
A: Check your soap’s texture, lather, and scent. This ensures it’s soft, lathers well, and smells good. It should be a high-quality natural skincare product.
