Are you ready to explore the world of hot-process soap making? This method lets you make your soap fast and easily. Because saponification happens quickly, you can use your soap in just a few hours.
This guide will teach you important skills. You’ll learn how to make your own unique soap, which is a natural choice instead of store-bought soaps. With over 70% of small cosmetics businesses making handmade soaps, now is a great time to start, Here’s this question answer ( How to Make Soap with the Hot Process ).

Key Takeaways
- Process soap-making offers a quick saponification process.
- You can customize your soap with various natural ingredients.
- Many small businesses are embracing handmade soap products.
- Nearly 60% of consumers prefer soaps made from natural ingredients.
- The market for handmade soap is expected to grow significantly in the coming years.
Introduction to Hot Process Soap Making
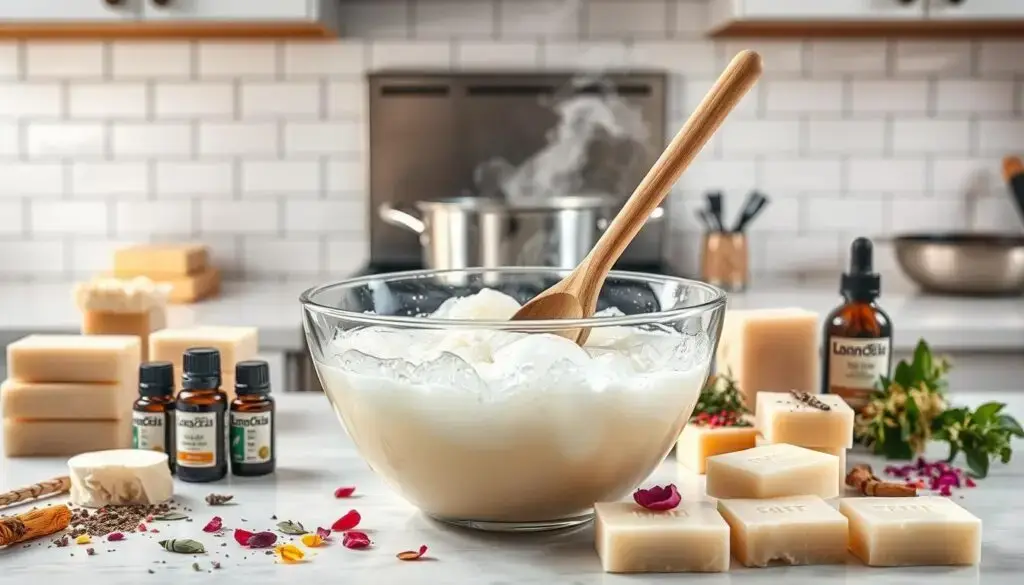
Hot process soap making is a fun way to make your soap. It uses heat to make the soap-making process faster. In this hot process soap tutorial, you’ll learn how to mix different hot process soap ingredients for great results.
This method lets you add oils, fragrances, and colors right away. You can make each batch your own. This way, you can try new things and make unique soaps every time.
Process soap-making gives you more control over your soap. You can play with different ingredients and scents. This makes the soap-making process more creative and saves time.
As you start making hot process soap, you’ll find new ways to show your creativity. You’ll make beautiful soaps that are truly yours.

What is the Hot Process Soap Method?
The hot process soap method makes soap faster. It mixes lye and fats and heats them. This makes soap and glycerin, key parts of the soap.

This method lets you use your soap right after it cools. You don’t have to wait weeks like with the cold process. This quick use is a big hot process soap benefit.
The hot process also makes a rich, creamy lather. This is because it keeps more glycerin in the soap. Many like it for making high-quality soap every time. Learning about this method can really improve your soap-making skills.
| Aspect | Hot Process Soap Method | Cold Process Soap Method |
|---|---|---|
| Saponification Speed | Faster due to heat | Slower, requires aging |
| Use of Ingredients | Immediate, can add ingredients after | Must add ingredients carefully pre-mixing |
| Glycerin Retention | High retention for moisturizing | Variable, dependent on the method |
| Ready to Use | After cooling | Weeks of curing needed |
Learning the hot process soap method opens up new creative possibilities. It also brings many benefits.
Benefits of Hot Process Soap Making
Hot process soap making has many benefits for both new and seasoned soap makers. It makes soap-making easier and faster. This is great for anyone who loves making soap.
Time Efficiency and Simplicity
Hot process soap making saves a lot of time. You can finish your soap in just one day. This means your soap is ready to use almost right away.
This method is also simple. It’s perfect for beginners who find other methods too hard. The hot process is easy to follow, making it great for new soap makers.
Customization of Ingredients
With hot process soap making, you can make soaps just how you like them. You can add special scents, colors, and textures. This lets you create unique soaps that you’ll love.
Many people enjoy trying out different ingredients. This makes the process even more fun. You get to be creative and make something special.

Essential Ingredients for Hot Process Soap
Knowing the key ingredients for hot process soap is key to making great soap. Each part adds something special to your soap. This includes lather, creaminess, and more. We’ll explore common oils, the must-have lye, and fun additives for a better feel.
Common Oils and Fats Used
Choosing the right oils and fats is vital for your soap. Here are some top picks:
- Coconut Oil: It makes a rich lather and adds hardness and cleaning power.
- Olive Oil: This oil moisturizes and feels gentle, making it a favorite.
- Palm Oil: It helps keep the soap stable and hard, making it well-rounded.
Remember, use a 2:1 ratio of oils to lye solution for the best saponification2.
Lye: The Key Component
Lye, or sodium hydroxide, is key for turning oils into soap. But, it’s very dangerous and can burn skin. The lye solution makes up about 25% of the oil weight2. It mixes with oils to start the soap-making reaction.
Additives for Scent and Color
Additives can make your soap even better. About 30% of the soap can be additives like essential oils, herbs, and colors2. Here are some favorites:
- Essential Oils: They add scent and extra skin benefits.
- Colorants: Natural or synthetic colors for looks.
- Herbs and Exfoliants: They add texture and extra cleaning.
Tools Needed for Hot Process Soap Making
Having the right tools for hot process soap making is key. It makes your crafting experience better. Knowing what tools and safety gear you need is important. It helps you get good results and stay safe while making soap. Here’s a list of the essential items you’ll need for this fun process.
Basic Equipment Overview
You’ll need a few main tools for hot process soap making. These tools help you mix, blend, and shape your soap. Here’s what you’ll need:
- Heat-safe mixing container: This is where you mix all your ingredients.
- Stick blender: You’ll need this tool in about 80% of hot process recipes. It mixes well and saves time.
- Digital scale: You need accurate measurements, like the oil-to-lye ratio, which can be 3:1 to 5:11.
- Soap mold: These molds shape your soap as it cools and sets.
- Thermometer: This tool helps you keep an eye on temperatures. Saponification happens at 160°F to 180°F (71°C to 82°C)1.
Safety Gear for Soap Making
When making soap, safety is very important. You need to be careful because of lye. Here’s the safety gear you should have:
- Gloves: Keep your hands safe from lye.
- Goggles: Protect your eyes from splashes or fumes.
- Mask: Use a mask to avoid breathing in fumes.
With the right tools for hot process soap and safety gear, you’re ready for a great time making soap. Following these tips for hot process soap making keeps you safe and efficient2.
How to Make Soap with the Hot Process
The process of producing hot process soap at home results in both enjoyment and personal satisfaction. Begin with purchasing every needed ingredient. One needs to combine lye solution with olive and coconut oils while adding the necessary scents and colors.
Then, measure your ingredients carefully. A digital scale should be used to measure the lye because this ingredient plays a critical role in soap manufacturing. Put on protective equipment while mixing lye with water in a suitable location during the process.
The lye solution requires you to cool it before warming your oil in a stainless steel pot. Keep the temperature between 100°F and 120°F. Stir the mixture while you gradually pour in the lye solution until the appearance of traces is observed.
Regular temperature checks should take place together with periodic stirring of the soap mixture. The process of mixing ensures the solution cooks evenly while protecting against scalding.
Check if the soap is ready by testing its consistency. If it’s right, pour it into molds. You can add fragrances or colors now for a personal touch.
Let the soap cool in the mold until it’s firm. Then, take it out and let it cure for weeks. This makes it even better.
This tutorial teaches you how to make hot process soap. It also encourages you to try new things and enjoy the process.
Step-by-Step Hot Process Soap Recipe
Making your soap is fun and rewarding. It needs careful steps to make a safe and quality product. First, let’s get ready with the ingredients.
Preparation of Ingredients
Before you start, get all the ingredients and tools you need. Measuring right is key for the perfect soap. Here’s how to prepare:
- Measure distilled water: Use distilled water for the lye.
- Weigh sodium hydroxide lye: Measure it exactly for good saponification.
- Prepare oils: Pick your oils like olive or coconut and measure them correctly.
Mixing and Cooking Your Soap
Now, mix and cook your soap. Here’s what to do:
- Combine liquids and lye: Mix the lye with water slowly in a safe area.
- Heat oils: Warm your oils to 100-130 °F for blending.
- Mix lye solution and oils: Blend the lye solution with the oils until it starts to thicken.
- Cook the soap: Cook it until it’s like gel, stirring now and then.
Pouring and Molding Process
When your soap is ready, pour and mold it:
- Prepare molds: Use silicone molds for easy soap removal.
- Pour the soap mixture: Pour the hot soap into molds without air bubbles.
- Smooth the surface: Use a spatula for a nice finish.
- Cover and insulate: Keep molds warm with a blanket for complete gel.
Follow this step-by-step hot process soap recipe for beautiful soap. Note that using other liquids might need boiling to avoid lye eruptions3. Your soap will cure for 4 to 6 weeks, like regular soap3. Enjoy making your soap and learning more about this craft.
Hot Process Soap Curing Time and Storage
The time it takes for hot process soap to cure is key for the best results. You can use it soon after making it, but curing for a few days improves its quality. This process makes the soap milder and gentler on your skin.
For storing hot process soap, keep it in a cool, dry place. This helps the soap stay effective and last longer. Here are some tips for storing it right.
- Store soap in a well-ventilated area to prevent moisture buildup.
- Avoid exposure to direct sunlight, which can cause discoloration and affect the fragrance.
- Keep the soap on a drying rack or in a box where air can circulate freely.
| Storage Tips | Reason |
|---|---|
| Ventilated Area | Prevents moisture accumulation, which helps the soap dry properly. |
| Cool Temperature | Protects the integrity of ingredients and maintains quality. |
| Dry Surface | Prevents unnecessary softening of the soap. |
Following these tips ensures your hot process soap stays good and lasts longer. Remember, being patient during curing makes your soap better for your skin.
Tips for Successful Hot Process Soap Making
Getting good at hot process soap making takes focus and knowing what to avoid. By learning from mistakes and following the best steps, you can make better soap. Here are some key tips to help you make great soap.
Common Mistakes to Avoid
- Incorrect Lye Ratios: Always measure lye and fats right to avoid bad results.
- Insufficient Mixing: Mix ingredients well to avoid uneven soap.
- Neglecting Temperature Management: Keep the soap mix at the right temperature for best results.
- Poor Curing Practices: Let soap cure for a long time to keep it good quality.
- Ignoring Safety Precautions: Wear protective gear when working with lye for safety.
Best Practices for Optimal Results
For the best hot process soap making, follow these tips:
- Temperature Monitoring: Keep the soaping temperature between 100-130 °F to prevent overheating and extend curing time.
- Patience is Key: Let your soap cure for 4 to 6 weeks to ensure a mild and long-lasting product.
- Recipe Adjustments: Try different liquids and additives to make your soap better.
- Proper Lye Handling: Always dissolve lye in distilled water for safety and consistency in your soap batches.
- Document Your Process: Take notes on every batch to easily troubleshoot hot process soap issues in the future.
By using these tips, you can make your soap-making better and avoid common problems. With the right steps and knowledge, making beautiful soaps is a fun and rewarding hobby435.
Conclusion
The hot process soap method is a fun way to be creative. It also has many benefits that make crafting better. By trying this method, you can make soaps just how you like them.
This hands-on approach makes you feel proud of what you’ve made. You can create soaps that show off your unique style. It’s a great way to enjoy making soap fully.
With this guide, you’re ready to start making soap. This method is great because you can make it your own. It’s perfect for both newbies and experienced soap makers.
Start using your new skills and let your creativity shine. You might even want to share your soaps with others. It’s a fun way to express yourself.
Remember, the more you make, the better you’ll get. Each batch will make you more confident. So, dive into hot process soap making and enjoy the benefits it brings to your life6.
