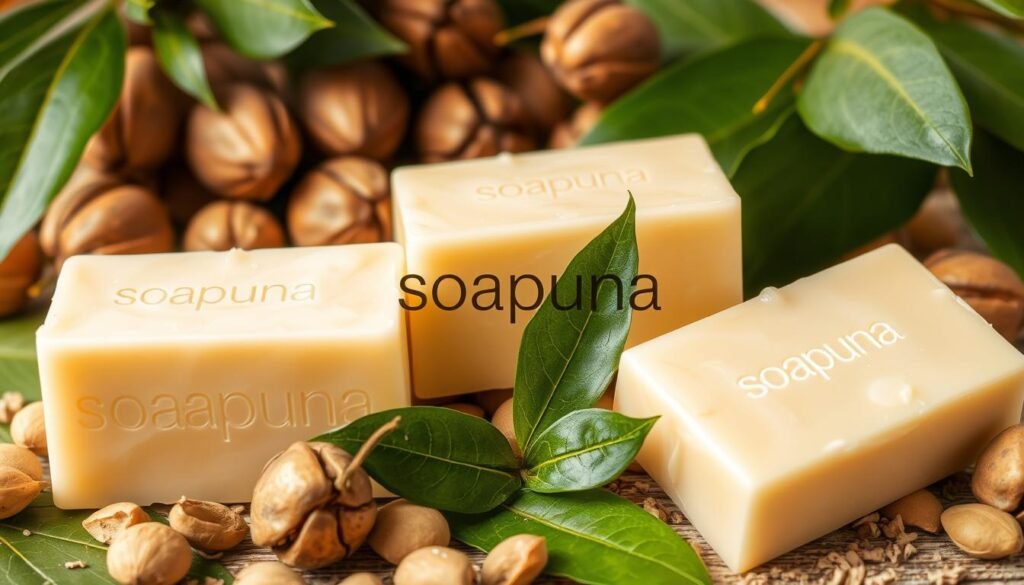
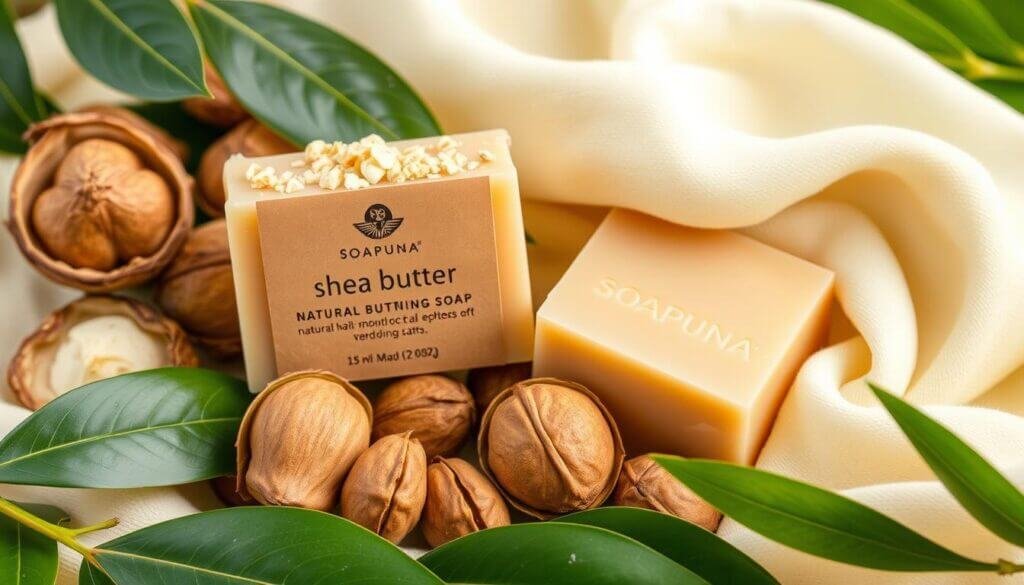
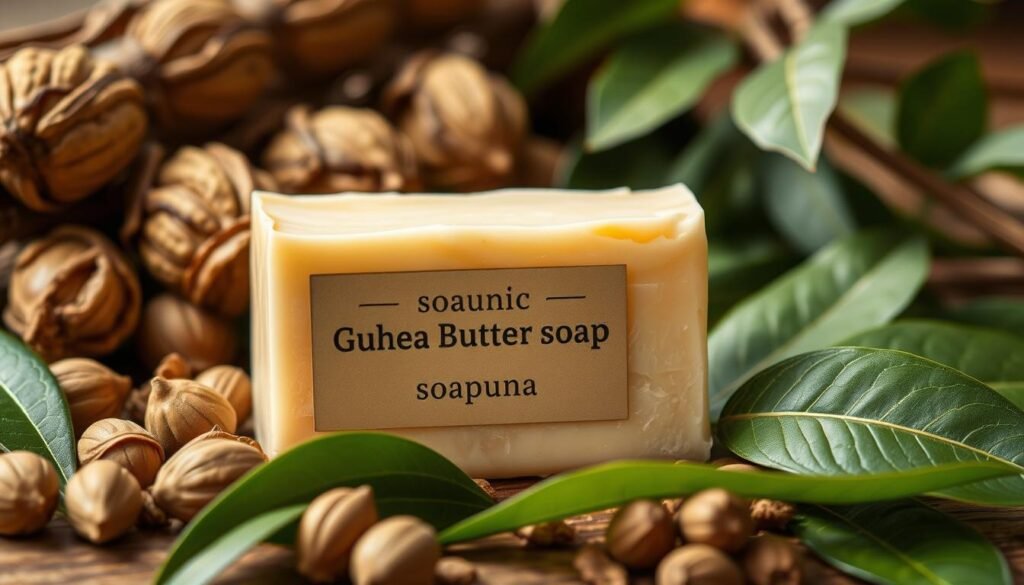
Welcome to our shea butter soap tutorial! We’ll explore how shea butter, a treasure in skincare, can improve your self-care. Shea butter has been valued for its healing properties. It’s full of vitamins and fatty acids that make your skin smooth.
Using natural ingredients in our skincare is key. Making soap with shea butter is more than just beauty. It’s a step towards a sustainable lifestyle and caring for our skin. Let’s start this journey together and change how we care for our skin, Here is a topic about how to make soap with shea butter lets read.
Key Takeaways
- Craft your own homemade shea butter soap for a personal touch.
- Shea butter offers moisturizing properties that enhance skin smoothness.
- The process encourages sustainable living through natural ingredients.
- Understanding ingredients is essential for achieving the best results.
- Safety precautions are necessary when handling lye during soap making.
- Proper curing time ensures quality soap with optimal benefits.
>>>>here is our last 4 blog posts
Introduction to Shea Butter in Soap Making
Shea butter is a great moisturizer from the shea tree nuts. It’s been used for centuries in Africa for its healing and anti-inflammatory benefits. Our shea butter soap-making guide shows how it can change your skincare routine. It’s better than commercial soap because it’s natural.
Shea butter makes up 5% to 30% of soap recipes. Some even use 100% shea butter. This lets you make your soap just right, balancing moisture and lather. It makes your soap clean and soft.
Knowing what shea butter is helps us make better soap. It’s mostly:
| Fatty Acid | Percentage |
|---|---|
| Lauric | 0% |
| Linoleic | 6% |
| Oleic | 48% |
| Palmitic | 5% |
| Stearic | 40% |
Shea butter’s iodine value is 59, showing it’s stable. Its SAP value for Sodium Hydroxide is 0.128. Mix it with oils at 90°F for the best results. Adding a bit of shea butter makes your organic shea butter soap even better.
Starting this journey with shea butter can greatly improve your soap and skin. Learning these basics will help you enjoy making soap.

Benefits of Using Shea Butter in Soap
Shea butter has been loved for centuries, mainly in Africa. It protects the skin from harsh weather. The shea butter soap benefits are many, thanks to vitamins A, E, and F. These vitamins nourish the skin, keep it hydrated, and fight inflammation.
Unrefined shea butter keeps more nutrients than refined. This means it gives more benefits in diy shea butter soap recipes. It’s good for all skin types, even sensitive ones. Shea butter moisturizes, heals cracked skin, and calms irritation.
Using shea butter regularly can make scars, stretch marks, and blemishes less visible. It soothes sunburned skin and is a natural makeup remover. It cleanses gently without harsh chemicals.
Shea butter also fights to age and supports skin health. It won’t clog pores, which is great for acne-prone skin. Using shea butter soap can make your skin more elastic and reduce wrinkles.

In short, the many shea butter soaps benefits make it a key part of natural skincare. By trying diy shea butter soap recipes, you can enjoy a gentle and effective cleansing routine.
How to Make Soap with Shea Butter
Making your shea butter soap is fun and good for your skin. It’s important to know what each ingredient does. This helps make your soap better.
Understanding Ingredients & Their Properties
In our shea butter soap, each part is key for the right feel and benefits:
- Olive Oil: It cleans and moisturizes your skin.
- Coconut Oil: This oil makes the soap sudsy and bubbly.
- Shea Butter: It keeps moisture in, with 4-9% unsaponifiable for skin health.
To get the best results, use no more than 15% shea butter. For every 5 ounces of shea butter, you need about 0.61 ounces of lye. This mix makes the soap soft and moisturizing.
Essential Equipment Needed for Soap Making
Having the right tools makes soap-making easier. Here’s what you need:
| Equipment | Purpose |
|---|---|
| Digital Scale | Accurate measurement of ingredients for consistency. |
| Immersion Blender | Easily blend and emulsify oils and lye mixture. |
| Soap Molds | Shape your soap bars; 1lb loaf molds are popular. |
| Safety Gear | Protects your skin and eyes while handling lye. |
Knowing these things will help you make great shea butter soap. Always be careful and patient when making soap.

Gathering Ingredients for Your Shea Butter Soap
Choosing the right ingredients is key to making great organic shea butter soap. High-quality shea butter is essential for the soap’s nourishing benefits. For the best results, pick unrefined organic shea butter. This keeps its natural vitamins and antioxidants, which are good for your skin.
Choosing Quality Shea Butter
Find certified organic shea butter from sustainable sources. Opt for unrefined shea butter to keep its beneficial compounds. Look for these qualities in different brands:
- Color: A light beige to ivory color means it’s naturally processed.
- Texture: It should be creamy smooth, and easy to mix.
- Fragrance: A mild nutty smell shows it’s fresh without synthetic additives.

Other Oils and Additives to Consider
Adding other oils can make your shea butter melt and pour soap even better. Use fractionated coconut oil or sweet almond oil for extra moisture and lather. Each oil has its own benefits:
| Oil Type | Benefits |
|---|---|
| Fractionated Coconut Oil | Lightweight, absorbs fast, and makes the soap lather well. |
| Sweet Almond Oil | Full of fatty acids, it moisturizes and soothes dry skin. |
| Essential Oils | They add a natural scent and can help with specific skin issues. |
By carefully choosing and mixing these ingredients, your organic shea butter soap will meet many skincare needs. It will not only look good but also help your skin feel better.
The Soap Making Process Explained
Making shea butter soap is a journey with many steps. This guide will show you how to make quality soap safely and precisely. Learning each step will help you become skilled in soap making.
Preparing the Lye Solution Safely
Creating the lye solution is key and must be done carefully. Lye is dangerous and needs to be handled with care. Always wear gloves and goggles in a well-ventilated area.
To make the lye solution, mix 2.39 oz of lye with 5.34 oz of water. The solution can get very hot. Let it cool to about 110°F before moving on.
Melting and Mixing Oils
While the lye solution cools, melt your oils. Mix 12 oz of shea butter, 4 oz of coconut oil, and 8 oz of olive oil. The oil mix should be between 100°F and 115°F.
Using a stick blender helps mix the oils smoothly and fast.
Achieving Trace for Perfect Soap Consistency
Blend the oils and lye until you reach ‘trace.’ This is a critical step. A light trace takes about 1 minute, and a medium trace is 30 seconds more.
Once you reach trace, add fragrance. Use 25 drops of orange essential oil for a nice scent. This step is important for pouring the soap into molds.
| Ingredient | Amount |
|---|---|
| Sodium Hydroxide (Lye) | 2.39 oz |
| Filtered Water | 5.34 oz |
| Shea Butter | 12 oz |
| Coconut Oil | 4 oz |
| Olive Oil | 8 oz |
| Orange Essential Oil | 25 drops |
Cooling and Molding Your Soap
After reaching the trace, it’s time to cool and mold your soap. This step is key for the right texture and solid form. Waiting patiently is important to avoid mistakes.
Mold choice affects your soap’s look. You can use silicone for easy removal or wooden for a rustic feel. This makes your soap more appealing.
Temperature control is critical. Keep the lye solution and oils between 90 to 110 degrees Fahrenheit. This helps mix everything well.
Let the soap rest in molds for at least 24 hours. This makes it hard and ready for the next step. After, cut the bars into sizes you like.
Don’t skip the curing stage. Curing for four to six weeks makes the soap better. It gets fully moisturizing without harmful chemicals.
| Aspect | Detail |
|---|---|
| Cooling Duration | Minimum of 24 hours in molds |
| Saponification Temperature | 90-110°F (32-43°C) |
| Average Soap Bar Weight | 100g |
| Total Bars Produced | 6 bars |
| Recommended Curing Time | 4 to 6 weeks |
How to Cure and Store Your Shea Butter Soap
Curing is key to making your shea butter soap great. It makes the soap harder and better at cleaning. This step lets the soap dry out, making it work better for your skin. Keep it in a cool, dry, and well-ventilated spot for the best results.
For natural shea butter soap, curing should last 4 to 6 weeks. The first 3 weeks are for hardening after it’s unmolded. Waiting a bit longer means your soap will be even better for your skin.
- Keep the soap in a cool, dry place with good airflow.
- Wrap each bar in wax paper or put them in a cardboard box to stop moisture.
- Don’t freeze your soap, as it can ruin its feel and look.
By following these tips, your shea butter soap will last longer. It will also stay a great part of your skincare routine. You’ll be happy knowing your soap is both beautiful and effective, thanks to proper curing and storage.
Tips for Customizing Your Soap Recipe
Customizing your soap recipe makes it special. You can make it fit your skin type and taste. Try mixing different oils and essential oils for shea butter soap benefits. Knowing how ingredients work together helps you make smart changes.
- 12.5 oz (354 g) olive oil – 44.64%
- 3.5 oz (99 g) sunflower or sweet almond oil – 12.5%
- 8 oz (227 g) coconut oil – 28.57%
- 4 oz (113 g) kokum or cocoa butter – 14.29%
- 3.95 oz (112 g) lye (sodium hydroxide)
- 8.5 oz (241 g) distilled water
This recipe makes 2.5 pounds of soap. You can make it even better by adding things like:
- 1 tablespoon of tamanu or rosehip seed oil
- 20 g lavender essential oil + 10 g tea tree essential oil
- 1 teaspoon of honey mixed with warm water for Oatmeal & Honey Soap
- 1 teaspoon poppy seeds for Lemon Poppy Seed Soap
When you customize, make sure the lye and oils are about 105 degrees Fahrenheit. This helps the soap mix right. Don’t be afraid to try infused oils, like herbal teas or flower infusions. They can really make your soap stand out.
With a little creativity and knowledge, each batch of DIY shea butter soap can be unique. Enjoy making personal skincare that celebrates shea butter’s natural goodness.
Conclusion
Our shea butter soap tutorial has shown us how to make nourishing skincare. You’ve learned to make soap with shea butter. This is more than just making a product; it’s starting a sustainable self-care routine.
Every bar of soap you make shows your commitment to wellness. It brings moisture and protection to your skin. This is a big step towards taking care of yourself.
This journey lets you customize and adapt your recipes. You now feel confident in making effective skincare. Shea butter does more than just hydrate. It also protects your skin from the environment, making it glow.
With each batch, you’re on a rewarding adventure. You’re not just making soap; you’re taking care of your skin and your values. Making shea butter soap helps us understand our skincare needs better. It supports our love for self-care and wellness.
